Completed : Hasegawa 1/48 McDonnell Douglas F-4G Phantom II ‘Wild Weasel IV’
Kit Info Manufacturer: Hasegawa Scale: 1/48 Media: Injection Plastic The Subject The USAF converted 116 F-4Es into the F-4G Advanced Wild Weasel IV for the role of seeking out and suppressing or destroying enemy radar-directed anti-aircraft artillery batteries and surface-to-air missile sites. Primary armament included the HARM (AGM-88)...

Completed : Hasegawa 1/48 Grumman F-14A Tomcat ‘VF-84 Jolly Rogers’
Kit Info Manufacturer: Hasegawa Scale: 1/48 Media: Injection Plastic The Subject Developed in the 1970s as a long range ‘fleet defender’, the Grumman F-14A Tomcat is the premier combat aircraft of the US Navy. Armed with a maximum of 6 AIM-54 Phoenix missiles, the Tomcat’s radar can track dozens of targets at one time,...

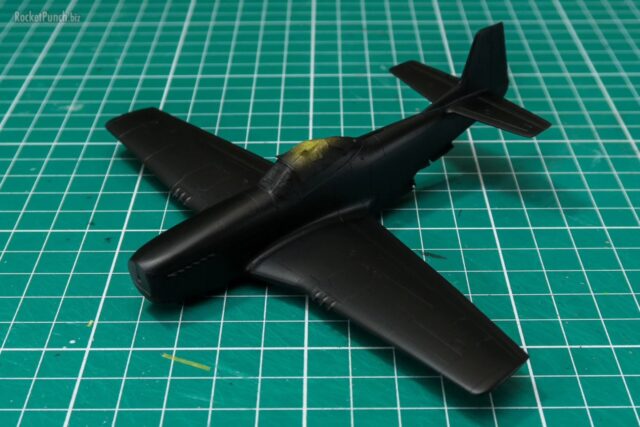
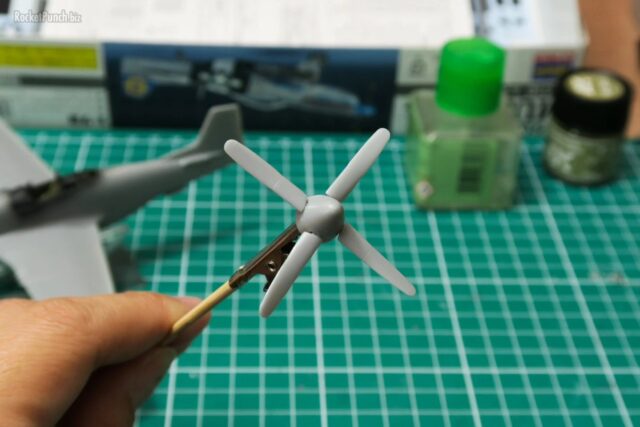
Completed : Hasegawa 1/72 Stonewell Bellcom VF-1G Valkyrie
Kit Info Manufacturer: Hasegawa Scale: 1/72 Media: Injection Plastic The Mecha The VF-1G ‘Wild Weasel’ is a modification of UN Spacy’s VT-1 Super Ostrich for the expressed purpose of Suppresion of Enemy Air Defense (SEAD) missions. Armed with the latest AGM-88 Mk.IV HARMs (High-speed Anti Radiation Missiles) and ALQ-188...