
My next Star Wars build is going to be Luke Skywalker’s Red Five from Star Wars: A New Hope (ANH). The kit itself has been in my stash since it was first released in 1999 and checking the decals they haven’t fared well so I would have to mask and spray the color scheme.

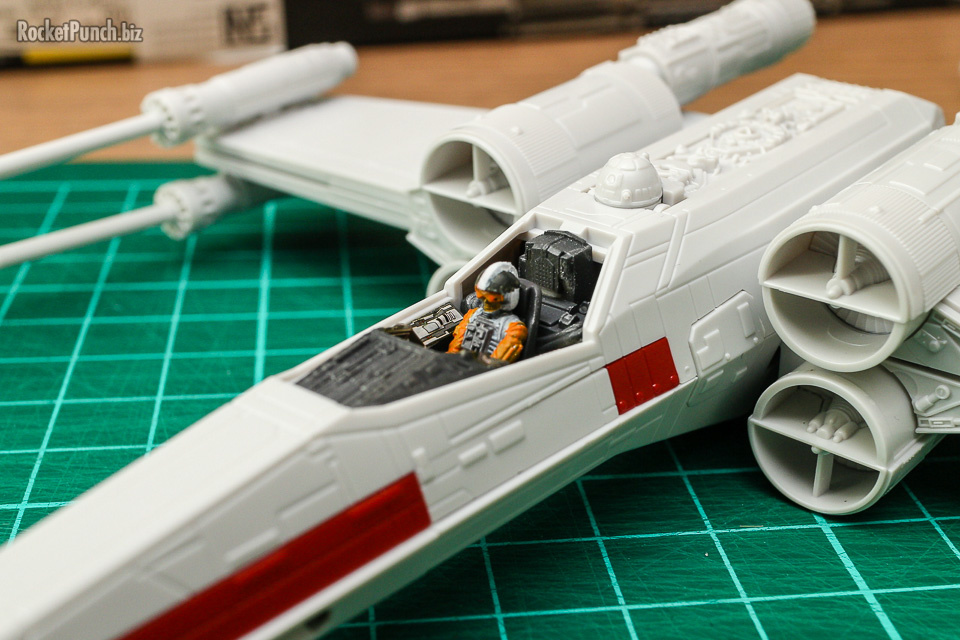
First up is dealing with the figures. The kit includes both a standing and seated pilot and were painted with acrylics. The Rebel Alliance logo on the helmets come from a spare Bandai X-wing kit I had. I’m still not too happy with my handpainting as the paint looks thick especially on the face. I hope to have a breakthrough with figure painting sooner than later.

The seated pilot is oddly proportioned but it turns out that that was the only way it would fit into the cramped cockpit. A nice touch is Fine Molds molding the targeting computer which Bandai doesn’t with their kit.

The canopy was then masked off and attached. I then assembled as much of the kit that I could get away with before painting.

Painting begins with a base coat of Mr Black Surfacer.

Next was a marble coat using Tamiya IJN Grey.

I then sprayed a very thinned coat of Mecha Color White Grey.

Then I sprayed very thin coats of Mr Color Off White to slowly build up the opacity.

Once satisfied with the white color, I started to mask the color scheme. References were screenshots, pictures of the actual studio model, and the Fine Molds and Bandai instructions. I deferred to the studio model for any conflicts.

The most troublesome part was of course the red stripes on the wings and having to do four sets of them. Bandai and Fine Molds have them as different sizes and I decided to go with Fine Molds’ design.

It took a few nights and some re-masking sessions before I was happy with it.

Slapping on the paint took considerably less time. Removing the masking tape though shows that I had some fixing to do with some misaligned panels and paint bleeding.

Back and forth I went: mask, paint, check, mask, paint, check until I was satisfied.

The barber poles on the wingtip lasers took me a while to mask properly but they worked out well. R2-D2 was carefully handpainted and looks alright if you don’t look too closely.

Time to weather this thing!

I began with sponge chipping using white acrylic paint.

I then chipped more using medium and black gray acrylic paints.

The different colors simulate newer and older chips.

I’m still getting the hang of not being too heavy-handed with chipping as a little really goes a long way. One benefit of acrylic paints is that they can be removed easily with a wet cotton bud as long as they haven’t dried up so I can undo some of the chips that I felt were overdone.

Once cured, I sprayed satin over the kit and then I gave it a diluted wash of Flory Models Dark Dirt Wash.

Once dried, I carefully wiped the kit down using a damp tissue. Besides being easy to clean up, the wash added a warming effect on the overall white color. The kit really pops after the wash and I think any Star Wars kit will require this.

Looking closely, the details really pop with the wash. I then added streaks and scuffs using Mig AMMO Starship Filth Oilbrusher.

A minor detail I wanted to add are the stains around the proton torpedo ports.

This was done with carefully applied thinned Tamiya Smoke.

After a flat coat to seal everything in it was time for final assembly. Step by step I: attached the landing gear doors, nose landing gear, removed the canopy masking, cemented the S-foils closed, cemented the endcap that attached the wings to the fuselage and lastly the wingtip lasers.

And now I finally have both versions of the X-wing: one landed with the S-foils closed and one with ‘S-foils locked in attack position’. And both were incidentally, the only X-wings (Red Two and Red Five) that survived the Battle of Yavin.


