

I’ve been wanting to build an A-4 Skyhawk armed for an Iron Hand (air defense suppression) mission for a while now and have heard good things about the Fujimi kit. Let’s see how it goes together shall we?

The ejection seat has very fine belts molded on but I replaced them with 0.7mm masking tape instead. Fujimi also only molded the shoulder belts but not the lap belts.

The cockpit interior was given a base coat of black and then painted in the usual FS36231 Dark Gull Gray.

With the ejection ring attached and everything painted up I think the seat looks the part. Note that I used plastic strips to reinforce where the instrument panel joins to the cockpit tub.

The instrument and side consoles have raised details. I used a silver color pencil on them to bring out the details.

I dropped a fishing weight into the nose and kept it in place using plastic rod.

I would normally attach the bottom wings to the fuselage first then add the upper wings on but after a dry fit it looks to be easier to do it the conventional way.

A big miss on this kit are the recessed bays where the leading edge slats retract into. The slats should fit in front of and not into the wings when closed. I’ve chosen not to fix this though.

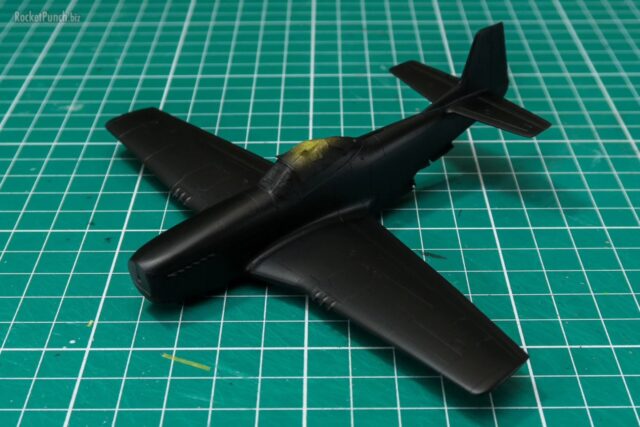
The Skyhawk is now finally taking shape with the wings fitted. Note I’ve painted the area where the intakes will fit over in black. When I finally add paint and can’t reach these crevices they will turn up as shadows instead of bare plastic.

The tailhook is molded on, too long and will need to be looked at eventually after I fixed the seamline under it.

The prominent hump is made up of two halves and doesn’t fit very well.

The seam line also cuts through a lot of panel details which will definitely need to be brought back after I fix it. That cut out will also be a hassle to fix for sure.

During the Vietnam War, some Skyhawks were upgraded with a big undernose sensor containing the APS-107 Radar Homing and Warning (RHAW) gear. The APS-107 enabled more effective use of the AGM-45 Shrikes for Iron Hand missions.

The kit doesn’t include the bump so I shaped one out of epoxy putty and plastic plate.

I shaped the hump carefully with sanding sticks and referred to the reference photos often to make sure I don’t overdo it.

Not a bad result from just one attempt.

A dry fit shows that the attachment points for the slats are too long.

I trimmed each of the attachments about 2mm to get a better fit. As usual for me this year, this build is turning out to be less and less straightforward. Anyway, moving along…
Build Log
Pt.1 – Construction | Pt.2 – Construction, Painting & Finishing


Good to see fujimi 1/72 skyhawk build! As far as I know, this kit is still good while hobby boss new kit is available now. Looking forward to seeing more.
Yeah it’s very nicely molded. But the fitting in some areas isn’t great, especially the hump. I’ve been wondering if the new Hobbyboss kits are any good actually. Looking at the sprues though, it seems like they don’t include the newer bent fuel probes which is a pity.