Work continues with the smaller details that need to be addressed. First up is the mis-molded tailhook which eventually broke during my handling during construction.
I cut off the tailhook bar and replaced it with 0.5mm plastic rod instead. I drilled a hole into the actuator side and inserted the rod to get a more positive fit. The part that meets the hook was butt-jointed.
Once the seamline on the instrument coaming was addressed I attached the HUD with PVA glue.
The canopy was attached by running extra thin cement into the joint. I have found this to be much easier than using PVA glue.
To arm my Skyhawk for the Iron Hand mission, I’m going with 2x Mk.20 Rockeye cluster bombs on the inboard pylons and 2x AGM-45 Shrikes on the outboard pylons. The centerline fuel tank will also be mounted.
I added pins into the stores using stretched sprue so they’ll be easier to attach to the pylons down the road. The red and blue marks lets me know which side the store is for: red for port, blue for starboard.
Fujimi molds a short indent for the centerline fueltank to fit onto a tab on the pylon. The tab was cut off and the indent filled and had pins inserted instead.
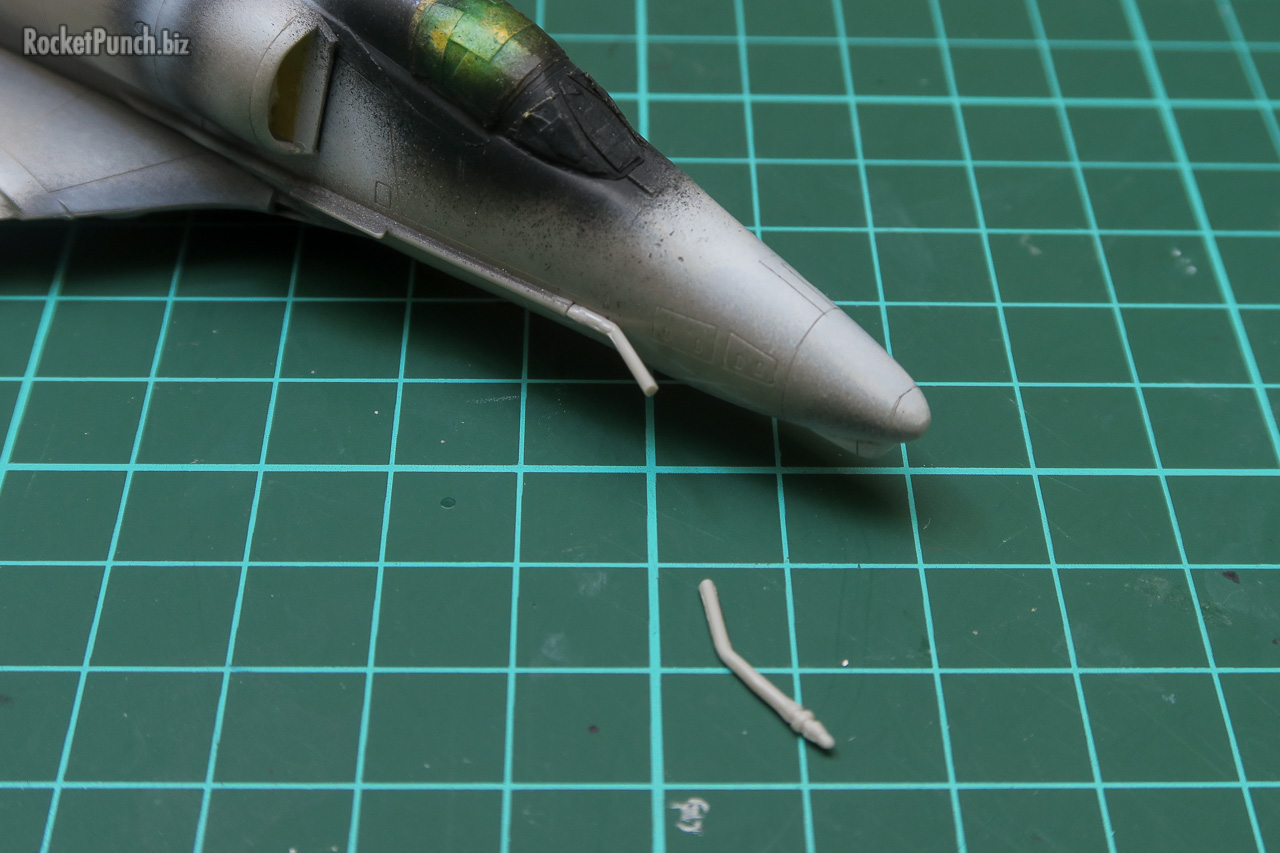
Then of course, I managed to break the bent refueling probe off.
This was carefully fixed with sprue glue which will reinforce the break point.
Then it’s time to fix everything else that I managed to break off: 1. the blade antenna on the hump with 0.25mm plastic plate 2. the cone-shaped antenna on the tail was chopped off from a spare cone antenna from the kit 3. a small blade antenna under the nose with 0.25mm plastic plate and 4. a small actuator on the tailhook. This looks different from the original kit part as I based it on the one from the 1/48 Hasegawa A-4 instead.
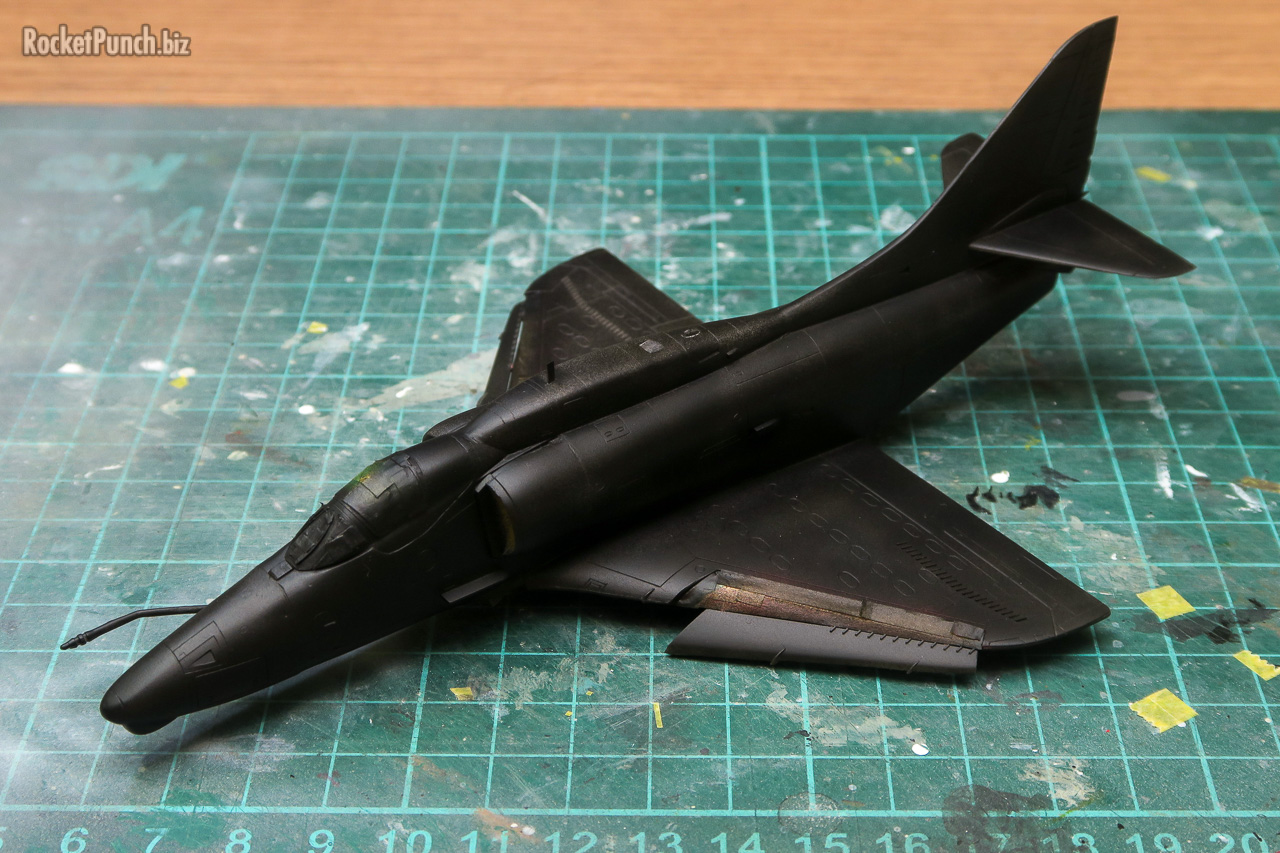
With the horizontal stabs attached the Skyhawk is finally taking shape.
The leading edge of the wings where the slats retract into were painted red and masked off. The slats were also attached as I figured it’ll be easier to do it now than after painting.
Painting begins with a black stealth coat.
The marble coat was done with light gray and brown colors. For the main camouflage I decided to try out Mr Hobby’s new (to me) Acrysion line. N51 Light Gull Gray is equivalent to FS16440 and N1 White is a basic gloss white.
My usual Lifecolor Thinner thankfully works on Acrysion and I’m happy to report it sprays quite well and the pigments are quite opaque. Like the other acrylic paints though, the airbrush does suffer from dry tip.
Since it’s behaving like other acrylics, I gave it a day to cure before masking it off for the other color.
N51 Light Gull Gray was easier to spray on. This is likely because it’s a flat non-white color. In any case, the tone looks good. Once dried, I then masked off and sprayed the anitglare panel with Model Color Black Grey and Mecha Color Red.
I then handpainted the details like the nose tip, the APS-107 and cleaned up all the overspray. By this point I also realized that the red I’ve used was too bright so I replaced it with Model Master Acryl Insignia Red which thankfully still worked fine. I’ve had this paint for more than a decade.
After a gloss coat, it was time for decals. The markings for VA-55 Warhorses’ NP-516 comes from Superscale. There’s an intentional inaccuracy here. The 1 photo I’ve seen of NP-516 is of a non-APS-107 A-4F so it did not have the bent refueling probe nor the big undernose sensor bump. The most pictures I’ve seen of APS-107 equipped A-4Fs are of NP-505 and NP-514. But I didn’t have the markings for those so I’ll live with this mistake. The decals were printed by Microscale and look very good once cured. I left out almost all the stencils for this build though. I also painted the wingtip and spine lights at this time using transparent red or blue paint over a layer of silver.
Once cured and wiped down with a damp cloth I sprayed a layer of satin coat to seal everything in. I then added a panel wash with Abteilung Starship Filth.
The wash brings out the nice details of this little kit. Note the tailhook which I handpainted the black on instead of using the decal. The stars and bars on the bottom was cut up and positioned around the pylon since the pylon was already attached from the beginning.
I then went in with spot weathering using Mig AMMO Oilbrusher Starship Filth and Daler & Rowney Raw Umber oil paints for streaking and filtering. I also used Mig AMMO Oilbrusher White for fading random panels and sections.
The weathering is more obvious on the bottom since its white color. Note the discoloring effects that was achieved with oil paints.
I made the smudges and streaks heavier around the port side of the cockpit, exhaust area, rudder, flaps and slats.
While waiting for weathering to dry on the main build, I went ahead and did all the smaller parts. Note also the heavier weathering on the centerline fuel tank.
Next is putting everything together and I can call this build (finally) done.
Build Log
Pt.1 – Construction | Pt.2 – Construction, Painting & Finishing


