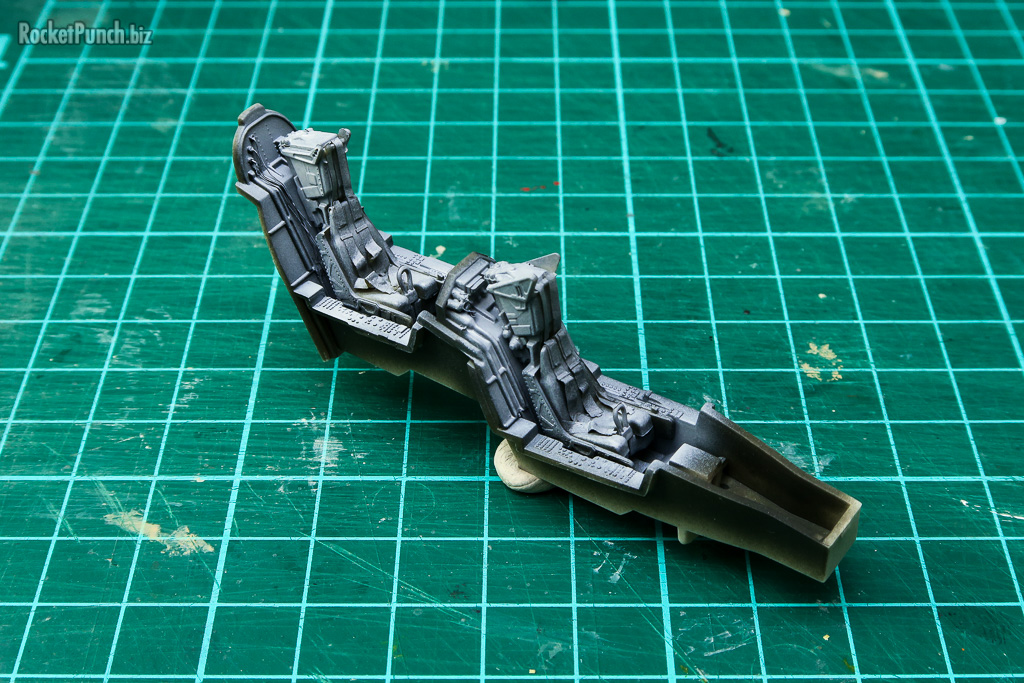
A few years ago, I tried to build the Kinetic F-16 kit. I gave up after only a few steps as the kit ‘requires basic modeling skills’. Since that time, has Kinetic improved? Let’s see with one of their newer (2013) releases, the Alpha Jet. I’m heavily referencing this build on an Alpha Jet build on Britmodeller.
Out of the box, the parts look OK: the panel lines are not as sharp as Tamigawa and are on the thick side, but at least they are consistent. A happy note is that the sprues are all dry unlike the F-16 where they were all coated with release agent out of the box so work can begin immediately. As usual, we begin with the cockpit.
The ejection seats are made of 6 parts, look quite good and has some nice fine details. The harnesses come in the form of photo-etch but I decided to use Tamiya Tape instead.
I based the design of the harnesses on photos I found on the Internet. They aren’t 100% accurate but I think the result looks better than the flat PE Kinetic provides. Plus I can make the belts drape differently on the 2 seats.
I decided to add more detail to the cockpit bulkheads by adding wiring. I used both copper wires and wires I salvaged from a broken USB cable. Being stiffer, the copper wire is easier to work with and while time consuming, I think this simple step adds some nice details.
I also decided to add details to the sidewalls of the cockpit. These details were stretched sprue and plastic plate.
The sidewalls were then given the standard procedure of a base in black, colored in Light Compass Ghost Grey, detailed in Black Grey, washed with dark gray, then a light drybrush of silver.
Not too shabby. Time to paint.
I went with a base of black. Over this is Light Compass Ghost Grey.
Then it was a matter of handpainting the details with various colors. Based on photos of Top Aces’ Alpha Jets, the belts are brown in color. Once painted, everything was given a dark gray wash, then lightly drybrushed in silver.
The dials on the instrument panels were picked out with black grey. Since I wanted to depict the plane when it’s not ‘turned on’, I left all the dials dark.
Next up is assembling the main body.
Build Log
Pt. 1 – Cockpit | Pt. 2 – Main Construction | Pt. 3 – Main Construction | Pt. 4 – Main Construction
Pt. 5 – Main Construction | Pt. 6 – Painting | Pt. 7 – Finishing


