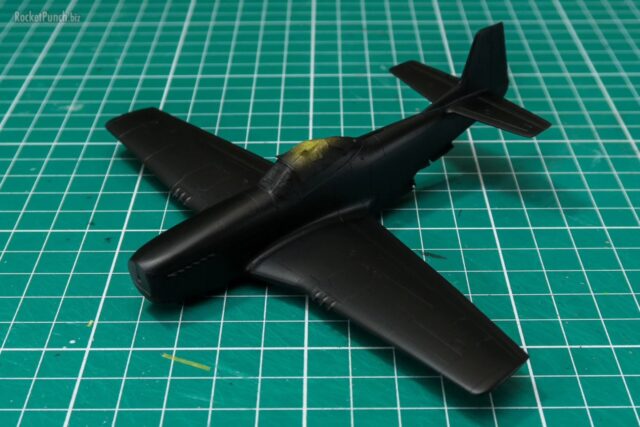
Painting begins with a base of Black Surfacer.

In the movie, the Shinden was found abandoned in a military warehouse and was repaired and modified to use against Godzilla. If that was the case, I can assume that the mechanics won’t bother with repainting it so it would have a less than pristine paint job. To help with that ‘look’, I added a white marble coat.

The Shinden’s color scheme is an overall dark green over light gray. For the green I misread the instructions and first went with Aqueous H36 Dark Green.

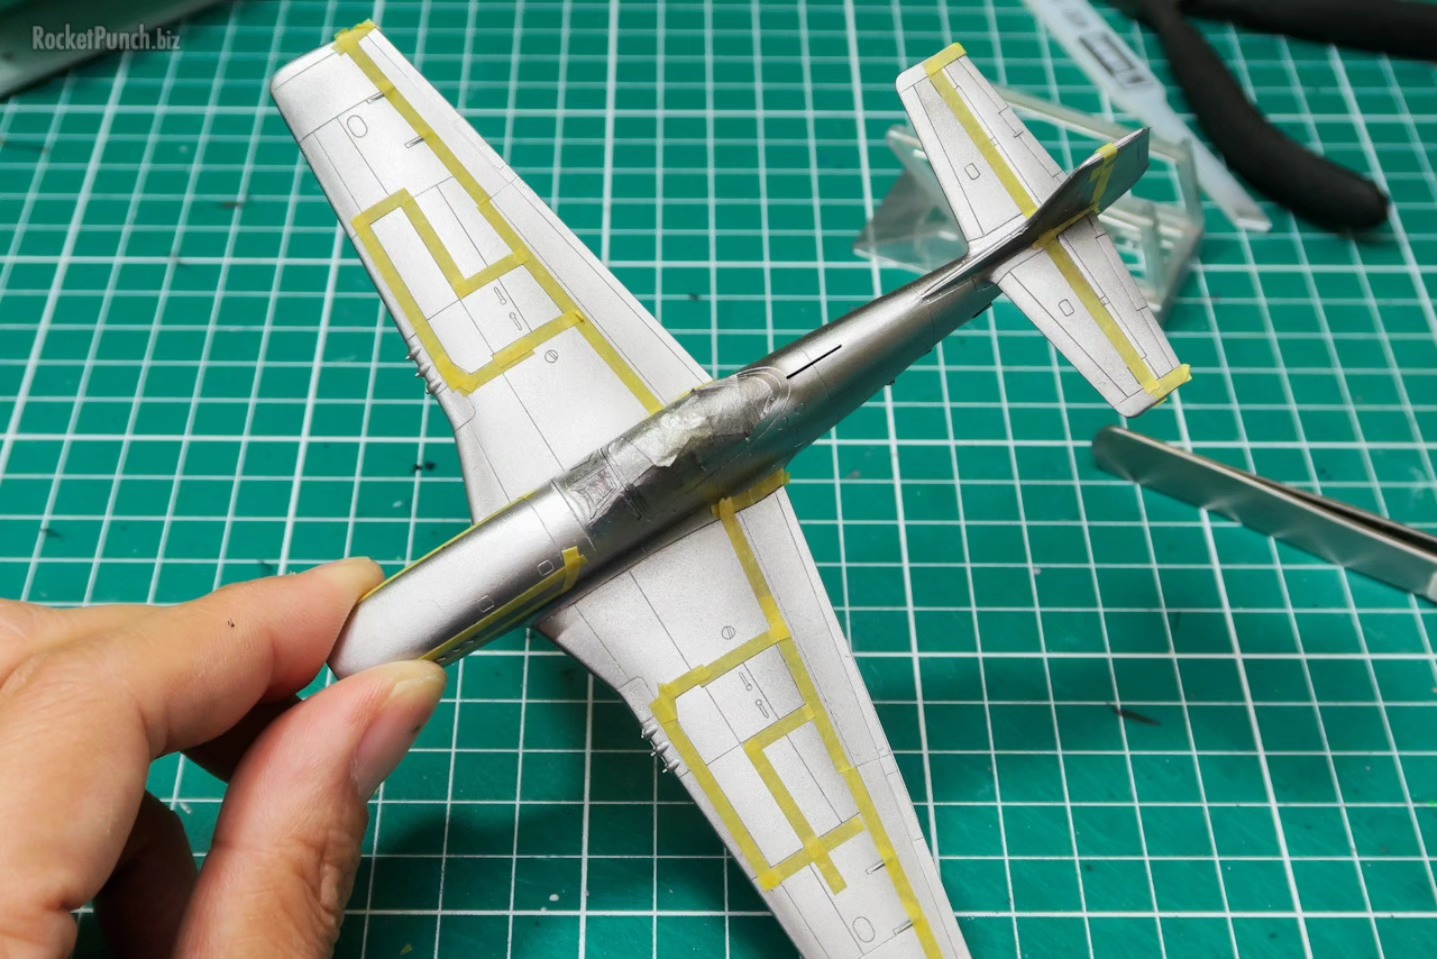
Masking is required for the bottom and in particular, there is a wavy pattern to the demarcation line on the nose. This was masked with blu tack.

The gray used was Aqueous H61 IJN Gray.

And then of course, I realized I used the wrong green color so I have to go back and repainted it with Aqueous H59 IJN Green instead.

Typical of Imperial Japan’s aircraft of the time, part of the leading edge of the wings is an orange yellow. I didn’t have the called for paint so I mixed my own with Aqueous X-3 Orange and Tamiya XF-3 Flat Yellow in a 1:1 ratio.

The landing gear and propeller were prepped separately. The propeller was painted in Tamiya XF-64 Red Brown which I think came out somewhat lighter than the called for color but it’s alright. Not a big deal for me. The oleos on the landing gear were painted using my new go-to method of using a marker. AK Real Color Marker Aluminium in this case.

After a gloss coat, the kit decals went on. Unfortunately, some of the red walkway markings silvered even after a healthy dose of Mark Softer.

Otherwise though, decaling was straightforward. The general lack of stencils really help.

Hasegawa provides decals for the section of the rudder that needs to be red. These tore on me so I decided to mask and spray them in Tamiya X-7 Red instead.

Once cured I picked out the details like the wingtip pitot tube, nose gun barrels and wingtip lights with various markers from AK Real Color Markers and DSPIAE.

Then a satin coat is done and I then washed the kit with Tamiya Dark Brown Panel Accent Color. As expected, this effect is not that obvious over the dark green sections. Once done I locked everything down with a mist coat of flat clear.

The multi-panel masking job I did turned out really well!

I had some trouble attaching the actuators of the main gear so I had to go back and do touch ups on the cement marks. Not ideal.

And I’m done with this relatively fast (for me) build. Not much surprises except for how large it is relative to the other jet aircraft on my table. Oh and the undernose pitot broke on me three times. Nothing that careful cementing can’t fix though.
Build Log
Pt.1 – Construction | Pt.2 – Painting & Finishing