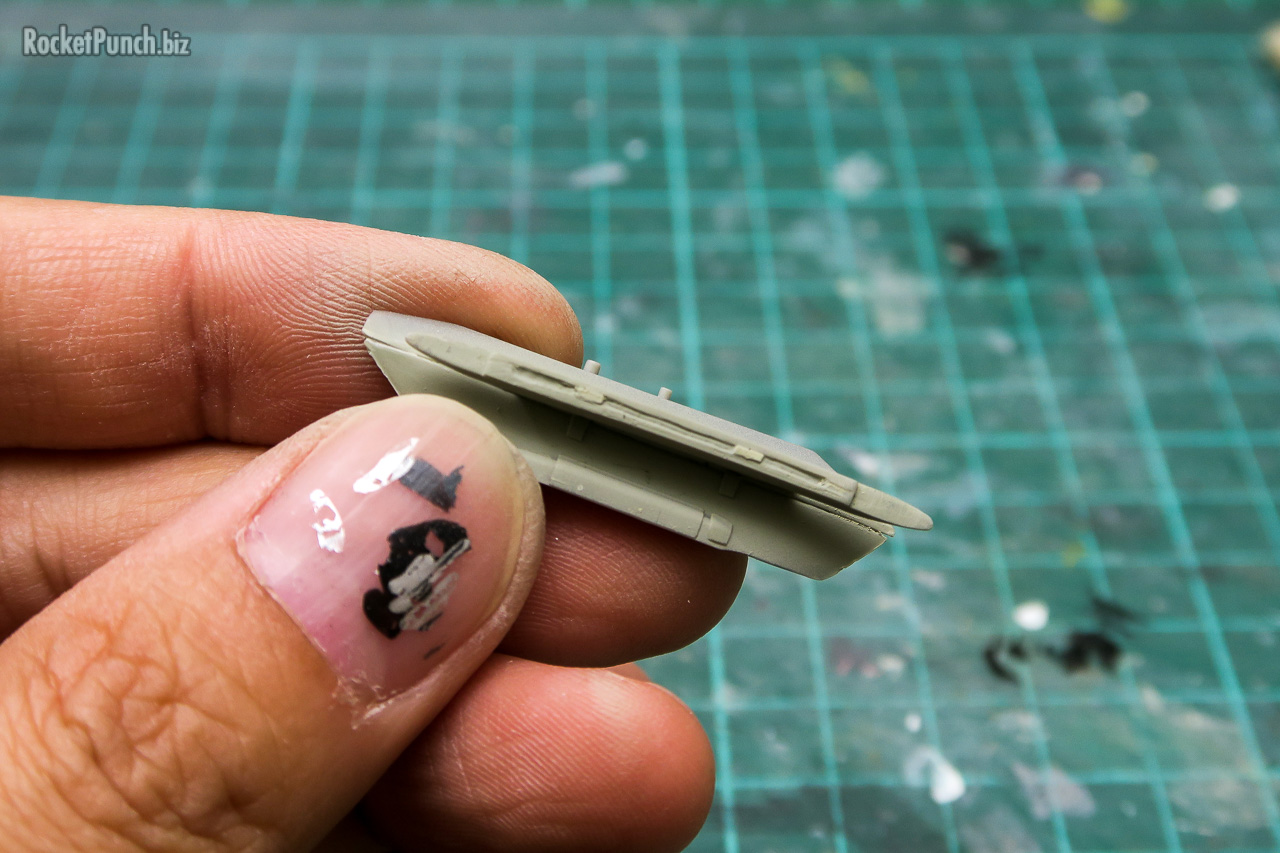
An easy detail to add is to drill out the fuel dump pipe on the beaver tail. It didn’t look right at all blanked off. This was drilled and I used an X-Acto blade to widen the hole.
Hobbyboss molds the canopy correctly, in that there are prominent detonation cords for each section (if only they worked for Goose). But there are also fine mold lines which need to be removed. These were scraped off, buffed and the canopy given a dip in Future.
A test fit of the front canopy shows that it sits proud with a noticeable step in front.
Looks like the cockpit tub was in the way so I chamfereed both corners.
Much better now. With cement in place and some pressure, the fit will be right.
Just like my Su-30MK2 build, the nose fit OK but had this very slight Coke bottle shape when seen from the top. And since I didn’t know any better, I decided to also give this kit a nose job. Hobbyboss, Trumpeter, all same! This time I tried a combination of CA glue with talcum powder.
This took only two rounds of sanding and shaping before I thought I could live with the result. Lost panel lines will be re-scribed.
Fast Eagle 107 had a faulty starboard AIM-9 pylon so she flew without a missile attached there during the engagement. Since Hobbyboss designed the kit to have weapons mounted, the rail itself only has two pins molded to attach the AIM-9. I decided to detail the bare rail.
I used a scriber to start a guiding line, then used a 0.5mm chisel to er.. chisel out a trough. Next I added Extra Thin Cement to clean out any debris and smooth out the trough. I then added two small strips of 0.25mm plastic card for added detail to the rail.
The result looks good and I think is detailed enough for the scale.
The upper and lower fuselage fit well for the most part but there are noticeable steps in the back where they meet. In hindsight, I really should have thinned out the upper part first before putting it together. The steps are quite an eyesore.
In the end, I had to sand away some details on the lower air brakes to get a smoother transition. This includes the bulges on them that I’ll need to scratchbuild.
It took a while but I was finally able to smooth out the steps.
I then scribed back the air brakes. The bulges were fashioned from 0.25mm plastic card and sanded to shape. After attaching them I sanded them to get them to be thinner. They are maybe around 0.20mm now… maybe.
A quick test painting shows a decent result. Nothing prize winning but I’m happy with how they look.
The wingtips feature very prominent raised panels for the lights that look out of scale so I sanded these off and scribed their locations.
I don’t think it’ll be visible but I punched out an Akohobby Aurora Sticker and stuck it to the HUD projector.
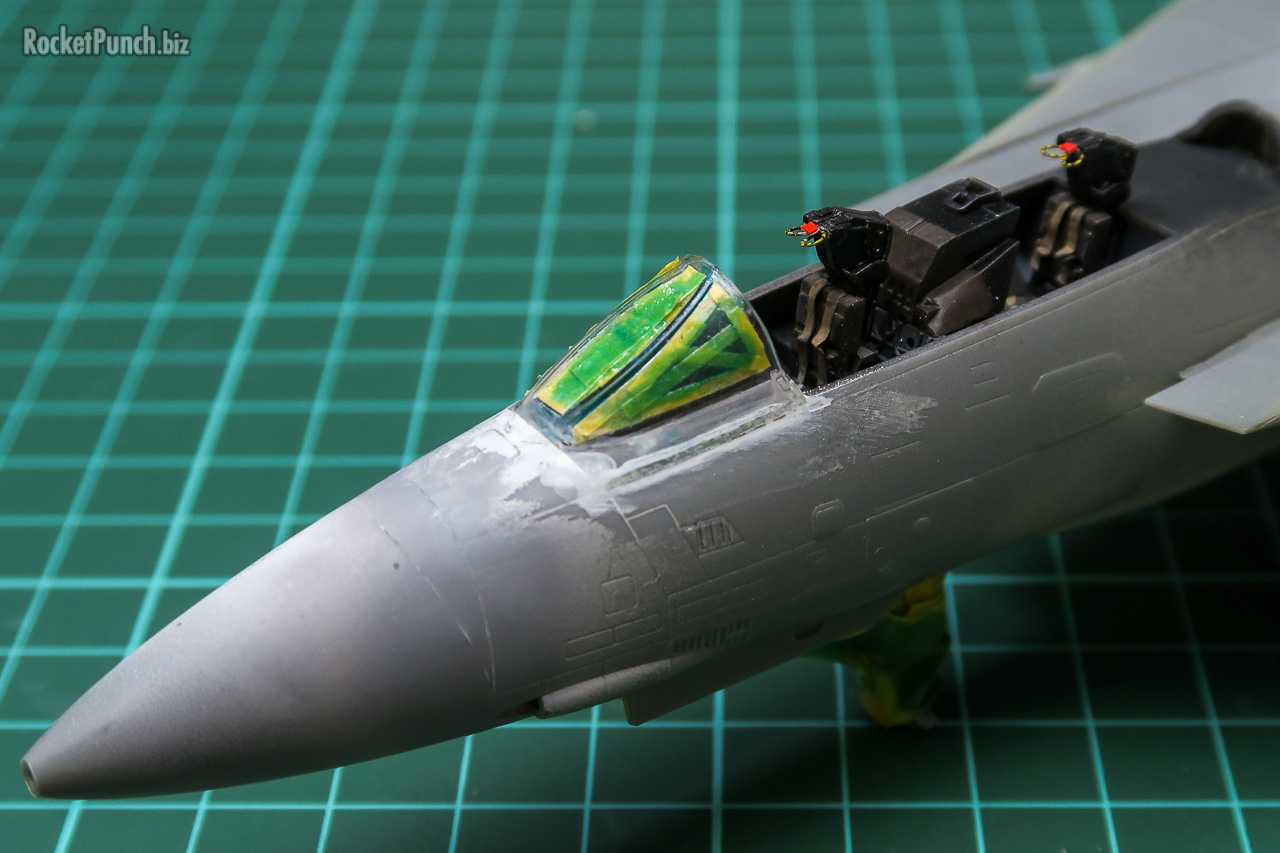
The front windshield is neither straight blue nor green so I mixed a bit of both and brushpainted to the inside of the front canopy. The piece was then dipped once more into Future to seal everything.
I’ve noticed recently that where there are front canopies, they tend to be faired quite smoothly onto the fuselage instead of being a clearly separate piece. There are panel lines but they aren’t prominent. I tried to replicate this by filling the seamline and sanding the transition smooth. Using something like Vallejo Acrylic Putty comes in handy in cases like this there will still be a panel line left once the putty cures and shrinks slightly.
The wing glove missile pylons and the canopy are attached right before painting. It can get messy using the PVA types of glues with bleeding and overflow so I went with Tamiya Extra Thin Cement for the canopy. Hopefully it’s a cleaner result.
Painting is next!
Build Log
Part 1 – Construction | Part 2 – Construction | Part 3 – Painting | Part 4 – Finishing


