So I’ll be building a Desert Storm era RF-4C. The kit will require donor parts to get it to be configured correctly.
USAF F-4s use straight-edged styled pylons. The kit is supposed to include them but alas, these were missing (I bought this kit used). I got a spare pair with the sway braces from a Hasegawa RF-4 kit. Based on a reference photo, I also trimmed the bottom of these pylons flat. The ALQ-131 pod comes from the (Italeri reboxed) Tamiya F-16 kit.
By this time, the USAF F-4 mounted a different version of the 600 gallon fuel tank. This tank is the same as the one carried by the F-15. The kit includes the old-style tank so I got another donation from the Hasegawa RF-4 kit. The mounting method had to be modified. I made new pins using stretched sprue for a more positive fit. I also added plates to thicken the whole molded-on pylon for some height so the tank clears the bottom fuselage.
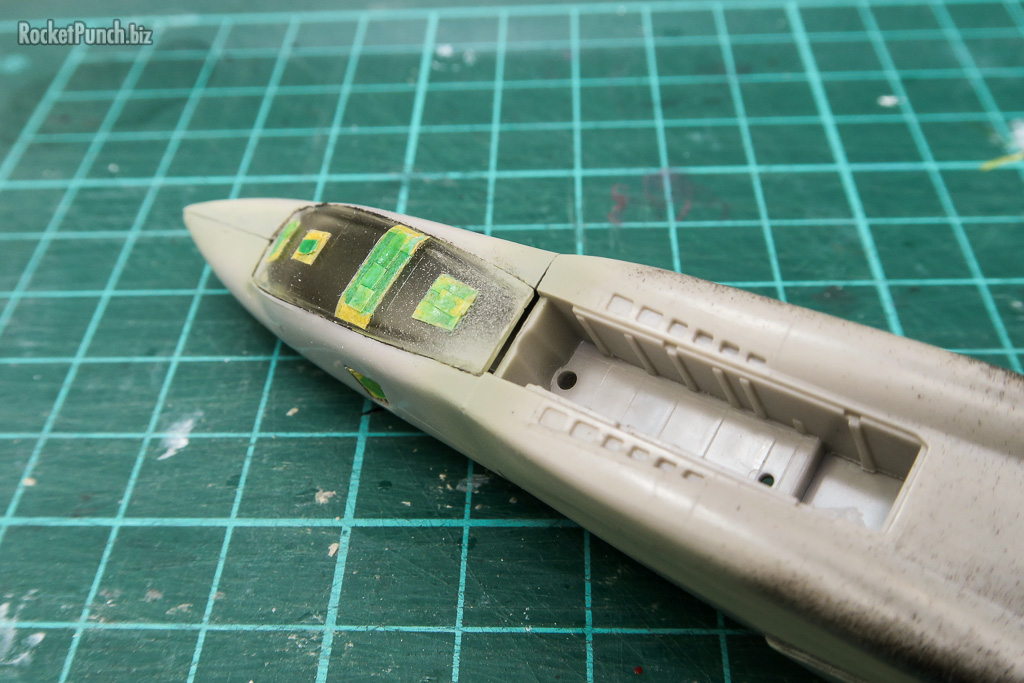
Work on the nose begins with attaching the side windows for the camera first before the fuselage halves come together. The bottom camera windows are molded as 1 piece of clear plastic. These were also masked off.
There’s no tab that holds the camera plate in position so I made some with plastic plates.
There’s an odd gap between the plate and the nose gear bay.
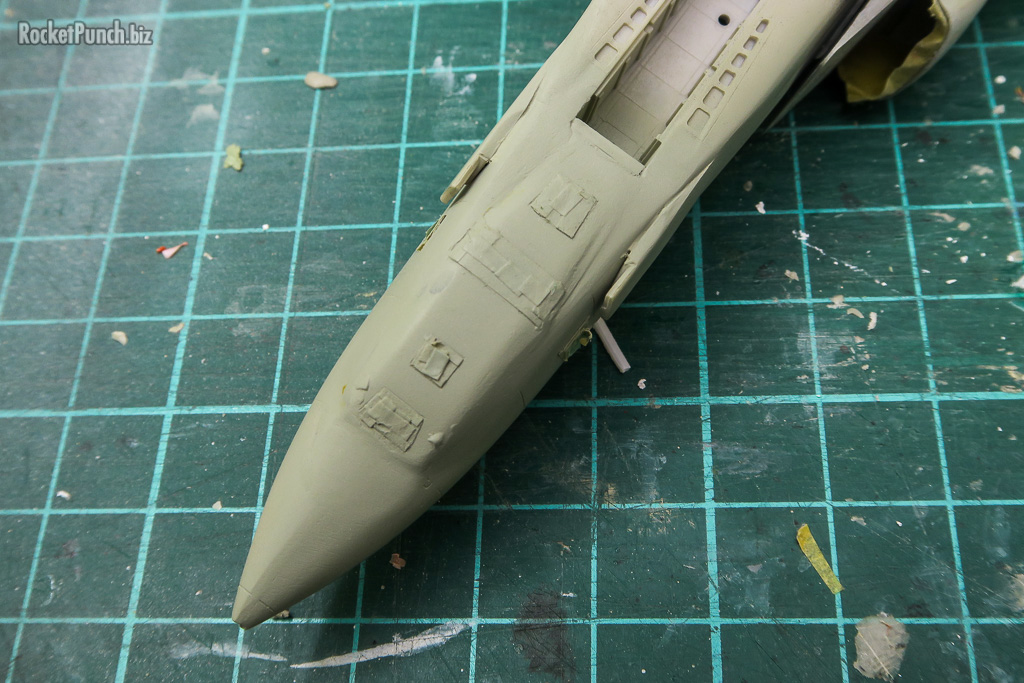
With a spray of primer, the problem becomes more glaring. The gaps around the camera plate are quite bad.
So instead of throwing the kit against the wall, I decided to try to fix it. The gaps were filled with both epoxy and AK Interactive putty.
Putty, sand, buff, prime, check, putty, sand, buff, prime, check. After (quite) a few rounds of this, I think the nose looks acceptable.
A small plate is added to cover the gap behind the camera plate.
Moving on…
Onwards to the intakes which is usually a problem area for aircraft kits. The interiors were painted in white and masked off before installation.
For the port side intake, I had to choose to have a gap at the bottom or up top. Since there’s less molded details on top, I went with aligning the intake with the bottom so there’s now a sizeable gap up top. The panel lines on the intake and the main body also don’t quite align. I’ll have to live with it.
I inserted plastic plate and trimmed off to quickly fill the gap.
On the starboard side, there’s a thin step where the intake meets the body. I shaped a small plate to cover this step.
WIth that settled, the instake fits very well though there’s a gap at the bottom.
This was fixed with more inserting of plastic plate and trimming off.
More fixing of stuff next…
Build Log
Part 1 – Construction | Part 2 – Construction | Part 3 – Construction |
Part 4 – Painting | Part 5 – Finishing


