This is actually my 4th go at the ‘new’ mold Hasegawa F-14 kit. The less said about the first 3 disasters the better. Anyway I hope to break the cycle with this one. The kit includes all the parts for the various iterations of the F-14 through its 30 years of service so I’ll be basing the configuration of the F-14A+ Kai on what I can see on the screencaps. Here we go…
My copy of the kit has old-ish decals so I decided to go with the PE control panels instead.
These are just a tiny bit too wide and the recesses for the boarding steps on the left fuselage get in the way of the control panels from fitting flush.
I added some plastic plates to raise the angle of the control panels so they clear the recesses.
The boarding steps required a bit of sanding to fit flush. The NACA-style gun vents are… not great.
After carefully trimming the flash, sprue marks and thinning the parts, I managed to get them to fit OK. The corners on both NACA door parts aren’t sharp though so will need to be addressed.
I used plastic plates as guides so the 2 parts align properly.
Like almost all my Macross kits, I will be building this kit gear up. I decided to ‘close’ each of the gear doors before putting both fuselage halves together.
Again, plastic plates are used on the inside to use as alignment guides.
A dryfit shows a gap in between the doors. Something to fix later.
A lot of plate work for alignment.
I dryfit the nose section to the fuselage and like all 3 of my previous failures, there is a small gap right where the 2 parts join. I used to simply slap on a lot of putty and sand everything away. I’ll see if there’s another way to fix this.
I attached the wing glove vanes closed. These will need to be blanked off after both halves of the fuselage come together.
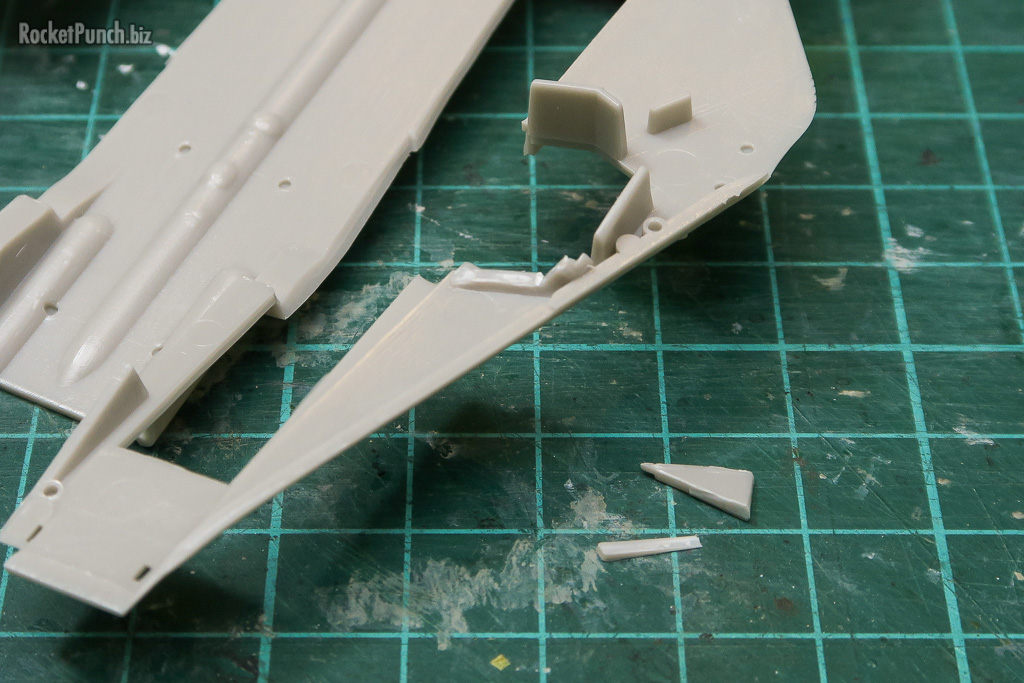
Before the 2 halves can fit together though, parts of the molded on main gear well need to be trimmed off.
The kit comes with the F-14A/B wing glove ECM fairings molded on. These need to be trimmed off.
The screencap shows however that the other fairing is present on both sides so these were attached.
The top and bottom speed brakes were trimmed and fitted into the aft fuselage.
Once fitted together I added the beaver tail. The F-14A+ Kai uses the modern version with the ECM bump and fuel dump pipe.
I decided to drill out the the fuel dump pipe. The hole is wider in real life but I’m afraid my limited dexterity won’t be able to pull it off.
This is proving to be a long build. Yay.
Build Log
Part 1 – Cockpit | Part 2 – Construction | Part 3 – Construction
Part 4 – Construction | Part 5 – Construction
Part 6 – Painting | Part 7 – Finishing


