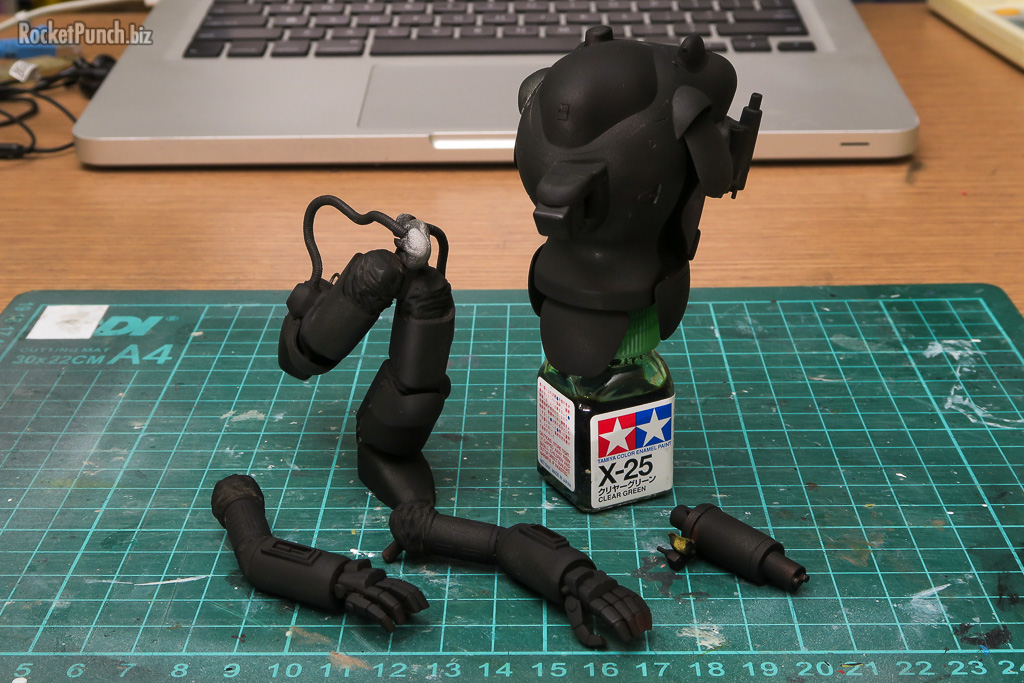
Time to finish this kit. Seamlines aren’t hidden and need to be addressed.
The areas in shadow were pre-painted in black before assembly.
Black base as usual to begin.
Marble coating with white. Nothing too precise though.
I went with a ground-oriented color scheme with red pauldrons.
The joint covers were handpainted in medium gray.
To replicate older chips, I added chipping at this stage with a sponge.
Decals on after a coat of gloss. These are a mix of the kit markings and a ‘noseart’ girl decal from a Modelkasten sheet.
The panel lines were then given a wash of diluted raw umber oil paint.
Next up is fading and adding streaks using Mig AMMO oil brushers.
I first faded the surface with white. I randomly dotted the surface and using a damp flat paintbrush blended the white into the surface.
I did the same with yellow and blue. This helps to reduce the contrast between the decals and the main kit. It also adds variations to the finish.
Starship Filth was used for smudges and streaks.
I decided to go for more fading on the feet with Dusty Earth.
This also adds a dust looking tint on the legs. More work will need to be done after pinning the kit to the base.
The base is similar to what I’ve done for my Gustav build but I added cork to the base so it’s easier to pin the Rapoon. I added a bit of an incline so it looks like the Rapoon is running upwards.
Besides adding a pin on the sole I also attached the leg to the cork using hot glue.
For the ground surface I used Vallejo Thick Mud – Light Brown.
I then pressed Woodland Scenics pebbles and sand in random spots.
Once dry I painted everything AK Interactive Black Grey, Model Color German Camo Medium Brown, then AK Interactive Dust.
I then added Citadel washes with their odd names but they are basically, red brown, dark brown and black.
I then randomly drybrushed with Game Color Bonewhite and AK Interactive Dust.
I mixed the 2 shades of grass tufts I have and added with PVA glue in random spots.
Then it was time to dust the feet with a 4 shade concoction.
I dusted both the feet and the base itself so the colors will match closer.
And I’m done! As usual, it took longer than usual due to inertia on my part.
Build Log
Pt. 1 – Construction | Pt. 2 – Painting & Finishing


