New year, new build. This time it’s the Italeri rebox of the Accurate Miniatures’ 1994 release. The Italeri boxing was released in 2013 with new marking options. Boxart is quite striking and the box is quite big but it turns out the 4 runners really only barely filled 1/2 of it.
Interior details are nicely detailed though not quite as sharp as more modern kits.
The nose if molded as a separate piece of 2 halves and the instructions call for the these to be put together then connected to the fuselage which is also made up of 2 halves. I decided to attach each nose half to each fuselage half instead which should reduce the chance of any steps from occurring at the nose-to-fuselage joint later.
The sidewall details are nice and more than adequate for my needs.
So are the details in the landing gear bay.
What makes the A-36 an A-36 (and not simply a re-named P-51) are the additions of dive brakes on both surfaces of the wings. These add the capability for the A-36 to divebomb. Though nicely done, they are unfortunately molded in place.
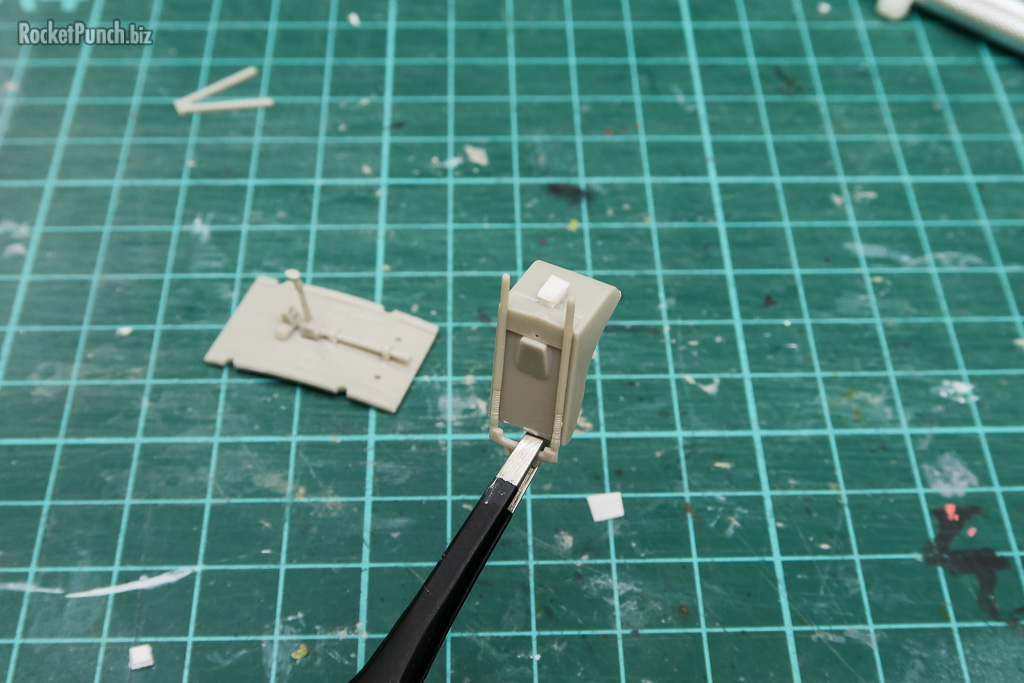
The pilot seat attaches to the floor with only 2 thin rods. I don’t think that will be strong enough so I decided to reinforce how they join.
I added plastic plates onto the bottom of the seat. These plates will attach to the control stick rod on the floor plate and add 1 more point of connection.
0.8mm of spacers was enough for the seat to er… seat properly. And they are small enough not to be visible from above.
The rear wheel comes molded as 1 piece and will need to be attached at the beginning of construction. There’s no practical way to modify it to be inserted at the end of the build instead so I really hope it doesn’t break off…
The horizontal stabs and the landing gear were quickly prepped. Italeri provides both weighted and non-weighted wheels as options in the box. I do believe that this is the first kit I’ve done that has weighted wheels.
The kit comes with pair of 500 lbs bombs made up of 6 parts each. The 4 fins on the back are fiddly though since they are butt jointed. It took a bit of eyeball 1.0 to get them to line up properly.
A dryfit test shows that the kit should fit fine except for the bottom of the left wing being slightly warped and sink marks on both top and bottom sides of the nose.
Build Log
Part 1 – Construction | Part 2 – Cockpit | Part 3 – Painting | Part 4 – Finishing


