This will be an OOB build of the twin-seater version of the VF-0 Phoenix from Macross Zero.
With its delta wings, I’ve always gotten the Dassault Mirage 2000 vibes from the VF-0D so I’ve also always planned to give the kit the same color scheme as the Mirage 2000D. But while playing around with the schemes on Photoshop, I thought the Israeli Air Force (IDFAF) scheme looked particularly striking and I also had access to some Israeli-specific weapons that I could hang off the kit so I decided that the VF-0D would have this color scheme instead.
 The pilots were handpainted in my usual rough way with the pilot’s head being turned slightly. The shoulder pauldrons were decals from the kit and one of them quickly shattered (ominous music…) which I fixed via careful handpainting.
There’s a recessed spot for the HUD repeater in the glare shield so I punched out a disc of Akohobby aurora film for it. I’m not sure if it’ll be all that visible once the canopy is attached though.
The crew were pinned and fit snugly in the cockpit.
The instrument panels were decals which tore badly (more ominous music). I fixed what I could and hope the tears won’t be too obvious once the canopy is attached.
The kit doesn’t provide an inflight option so closing the gear doors will have to be DIY. First the nose gear.
The actuators were all cut off and I lined ‘lips’ inside the well with plastic card to stop the doors from going in too deep.
The slots around the opening for the actuators will be filled with plastic cards.
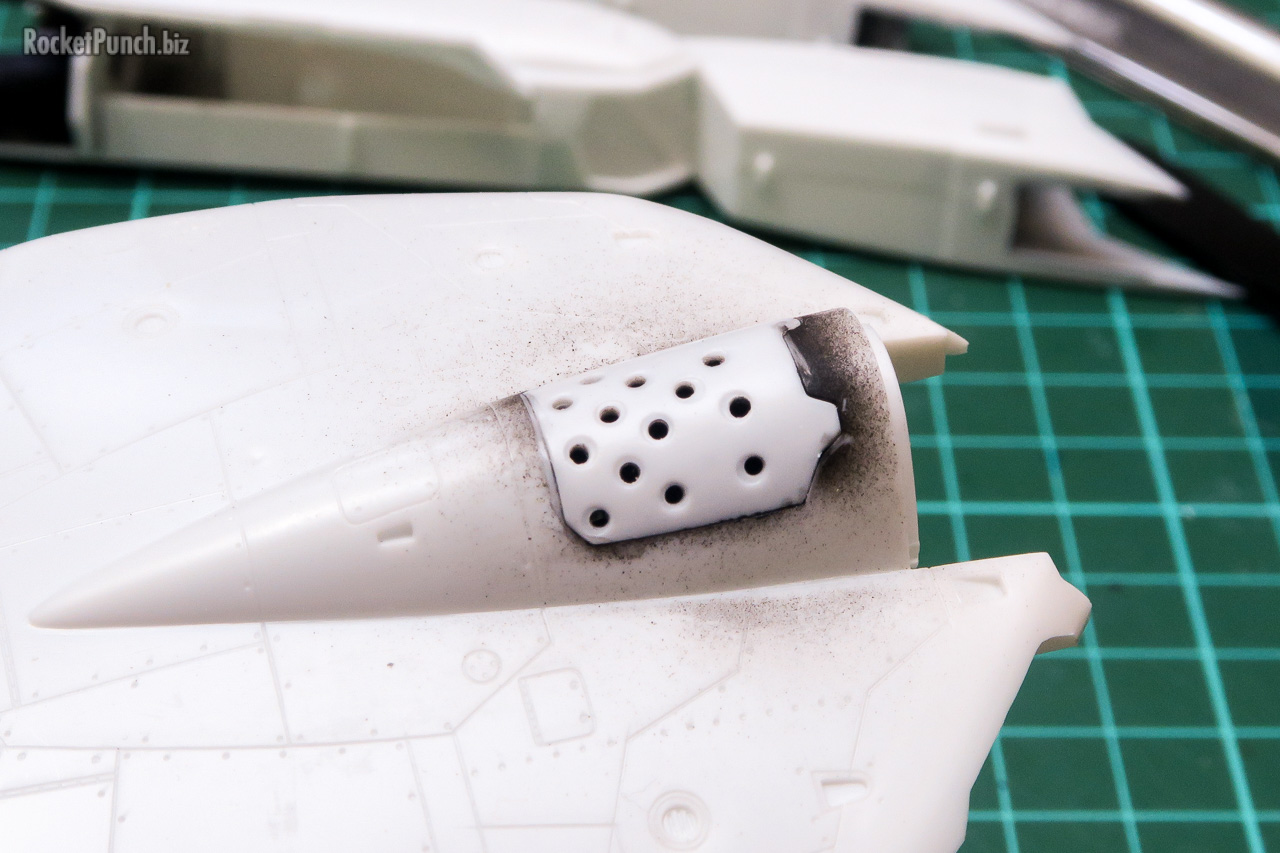
The airbrake is perforated like the initial A-6 Intruder but the holes are filled.
These were carefully drilled out as added detail.
I didn’t want to have to fix the ejector pin marks inside the airbrake compartment so I decided to close it. It requires some sanding to get it to sit flushed.
Instead of building up the nose section and the fuselage sepately before joining, I went with attaching the upper half of the nose to the fuselage first. This will make it easier to fit without a step where they join.
For the main gear, I left the plate inside the bay where the gear leg would have attached to off. I again added lips inside the bay for the doors to sit on.
This took some shimming and swearing to get a good enough fit. And then I had to repeat for the other one. Scale modeling… yeah!
I did some dryfitting and saw that some of the hollow areas would be visible so I filled these with epoxy putty.
Things have gone smoothly so far but I remembered from my VF-0C build that the delta wings would be problematic. Let’s see how I’ll tackle them this time eh?
Build Log
Part 1 – Construction | Part 2 – Construction | Part 3 – Painting & Finishing


