Something a bit different this time with a Marineflieger (German Naval Aviation) Tornado IDS, I was inspired to build this kit after making the acquantance of a retired Marineflieger pilot.

For whatever reason, I managed to lose one of the seat cushions for the Martin-Baker MK.10A ejection seat so I replaced the pair of seats with resin ones from Aires. As you can see, they look quite different.

As usual with Aires, the seat belts come in the form of PE. I didn’t want to deal with PE so I used Tamiya tape instead.

The cockpit has the details molded on although Hasegawa also includes decals. I went with painitng the instrument panels.

I noted quite a few ejection pin marks in very obvious places so I decided to tackle these first. They were filled with sprue glue and sanded smooth.

Going around the kit I dealt with what I saw to be potential problems. The horizontal stabilizers for example are designed with short pins that simply plug into holes on the fuselage. I reinforced the fuselage side with tubing. This mod allows the stabilizers to friction fit.

The intake floor doesn’t sit flush to the intake lip which is very odd indeed.

I stacked 1mm plastic plate to raise the intake lip.

Then I sanded the lip down into a slope. The join between the plate and original intake ramp was filled with black CA glue.

The sides of the intakes have pilot holes molded which aren’t used for this build. These were filled and sanded smooth.

I have to mask off the inside of the intakes before assembling the fuselage.

Based on reference photos, I also painted the inside of the intakes first.

The rear cockpit shroud didn’t fit all that well around the instrument panel and I had to ‘McGyver’ a way to clamp the whole assembly together.

As usual, I added a small disc of Aurora film to replicate the HUD projector.

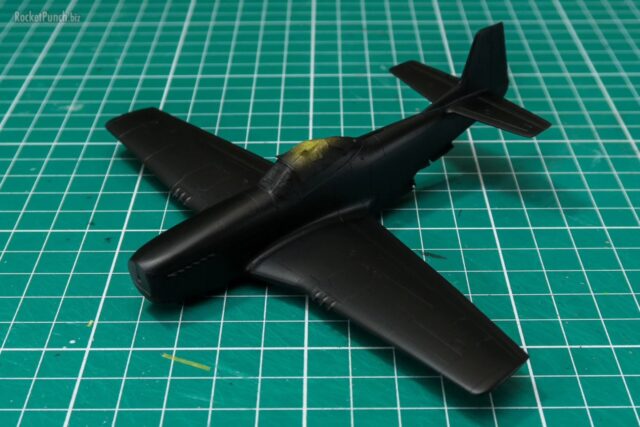
It’s finally time to put the fuselage together and I noted sink marks at the back that will require fixing.

The nose to body fit was decent but there were a lot of seamlines that cut across panel lines to deal with especially at the rear. These were all filled with Black CA glue. Note that the nose probe has broken off by this point. Why have it molded on Hasegawa? Seriously.
Build Log
Pt.1 – Construction | Pt.2 – Construction | Pt.3 – Painting
Pt.4 – Painting | Pt.5 – Finishing