I began by painting the gearbays white and then masking them off with tape and sponge. Looking at photos, many of them show the inboard and bottom pylons to be the almost white color from the original Norm 76 Marineflieger scheme. I thought the contrast looked interesting so I painted the pylons Tamiya XF-2 Flat White. These were then masked off.

On the real Tornado, the slots where the wing sweeps into is made from a rubber like material. Hasegawa molds these as a solid piece attached to the wings. Pictures show that they eventually take on a gray color. I just used XF-20 Tamiya Medium Gray for this and masked it off.

I tackled the engines next and painted accordingly with photo references. The exhaust shrouds were masked off and the nozzles were kept away till final assembly.

All prepped for painting!

I got the Norm ’87 color callouts from the IPMS Tornado SIG and it turns out the Hasegawa callouts were incorrect. I got a set of Graublau, Grungrau and Bassaltgrau paints from AK Real Colors that look a lot closer to Norm ’87.

SOP calls for going from light to dark for painting but the three Norm ’87 shades are dark so I just started with RAL 7009 Grungrau (Real Color RC211 Grungrau Green Grey RAL 7009).

The wings have an inboard area that goes into the fuselage when they sweep. I swept the wings and traced out the pattern with a pencil.

I then sprayed the sections with Tamiya XF-83 Medium Sea Gray 2.

I then swept the wings and sprayed Grungrau again to cover the overspray.

The area is then masked off for the rest of the camouflage.

I next masked off the areas for RAL7012 Basaltgrau. These areas were painted Real Color RC212 Basaltgrau Basalt Gray RAL 7012

Once cured, Then it was more masking for the last color: Graublau.

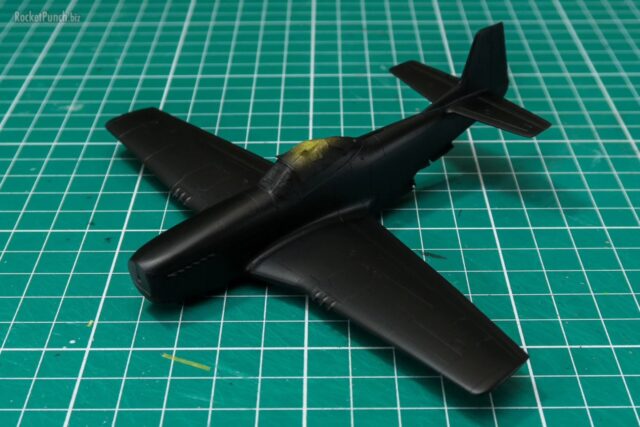
Real Color RC208 Graublau Grey Blue RAL 5008 is a very dark blue that looks almost black.

I then tackled the little niggly areas: the starboard pitot was re-attached. I added the blade antenna in front of the windshield with styrene and I re-attached the nose probe that had broken off during assembly.

The nose was then masked off and painted Tamiya XF-85 Rubber Black

I then checked for mistakes in the camouflage and took some time to re-paint them.

Note the outboard pylons are the same color as the wings and there is a square area that’s gray aft of the nose gear bay.

The details like nose probe, intake lights, tailfin sensors and wingtip lights are now painted.

The stores were painted based on reference photos. The misile bands were masked and sprayed while the details on the Cerberus pod was picked out by handpainting.
Build Log
Pt.1 – Construction | Pt.2 – Construction | Pt.3 – Painting
Pt.4 – Painting | Pt.5 – Finishing