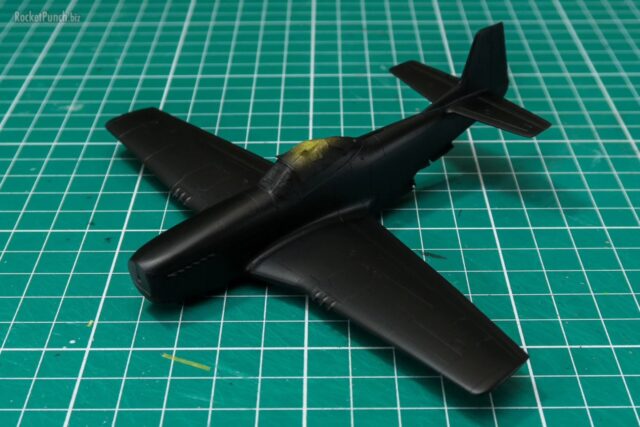
It is time for decals and after a gloss coat with Aqueous gloss (which might have been a mistake in hindsight) I started as usual with the tail markings. So far so good with the Hasegawa decals.

Marineflieger line jet markings are simple and understated.

This was when I realized that I’d missed out on painting some of the details. There’s a small rectangle on each side of the nose and the gun ports that needed to be dealt with. These were carefully masked off and painted before I continued with the decals.

There’s also a prominent section up top that is in a gray color. So it was out with more masking tape.

The gray is the same color as the sections inboard of the wings.

There is a red line that goes around the backend of the Tornado but I’d already attached the stabilizers and they were in the way of the decal so I decided to mask and spray it.

The red was sprayed over a base of white. Looks good enough.

The first sign that I should have done a more thorough glossing was when I put the walkway decals. These were basically clear decals with black outlines and required a very smooth surface to minimize silvering. I usually can get away with using Aqueous gloss because most of the decals had more markings than carrier film. For the walkway decals however, the opposite is true. I believe these decals would not silver as much had I used AK Interactive Gauzy instead. So basically every walkway decal silvered in random spots. I did my best to get them to bed down by opening slits into the carrier film and flooding them with Mark Softer but that didn’t do much.

For the stencils, I only realized I had placed them in the wrong orientation while looking at reference photos (damn these old man eyes) so I ended up stripping the wrongly places stencils and took new ones from another box I have of this Tornado (yeah… I had a spare… :P)

And of course I ended up breaking the stabilizer off the kit. Repair involves adding a new pin and hole using brass rod for strength.

I also found some rough work on the nose which I couldn’t leave alone. The spot was sanded smooth and repainted.

Much better now.

I debated whether the nose should have the gray line running down the middle as photos don’t show this. But by the time I I tried to remove it had cured in place and I couldn’t remove it without resorting to sanding it off so I decided to leave it alone.

Besides the inboard pylons, there is a general lack of decals for the rest of the parts.
Build Log
Pt.1 – Construction | Pt.2 – Construction | Pt.3 – Painting
Pt.4 – Painting | Pt.5 – Finishing