Work continues for the engines as I assemble the intakes. The closed vents on the intakes were painted and masked off.

Like the main gear doors, the nose gear doors also needed to be modified to fit closed. I added small steps inside the bay as stoppers and assembled the 3 bay door parts into 1 larger piece.

The fit is OK after some shimming, cursing and swearing.

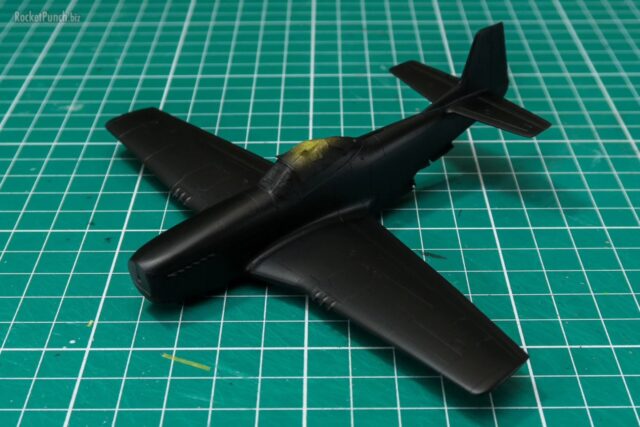
The Valkyrie is finally taking shape.

The Super Strike parts are next. These are a mix of parts from both boxes.

A drilled out the gun barrels on the Strike cannons.

The Super parts need a bit of work. The booster is flipped and the pylon attaches to the bottom of it so I marked the spot where there should be a slot for the pylon.

Cutting the hole is a matter of first drilling a row of holes for the slot, then cleaning out the remaining plastic with a cutter. The slot is sized just enough to fiction fit with the pylon.

There is also a slot on the booster where it normally connects to a mount on the fuselage. This was filled with plastic plate and shaped.

My Valkyrie will be armed with 6x AMM-1 missiles on 2 TERs (Triple Ejector Racks). I added pins into the missiles so they will attach easier and better to the pylon. The ‘3 6 9’ label is a way for me to remember which missile goes where on the TER.

I’m also adding 1x RMS-1 anti-ship reaction missile under each wing. With everything mounted the VF-1 looks ridiculously overloaded but bad ass!

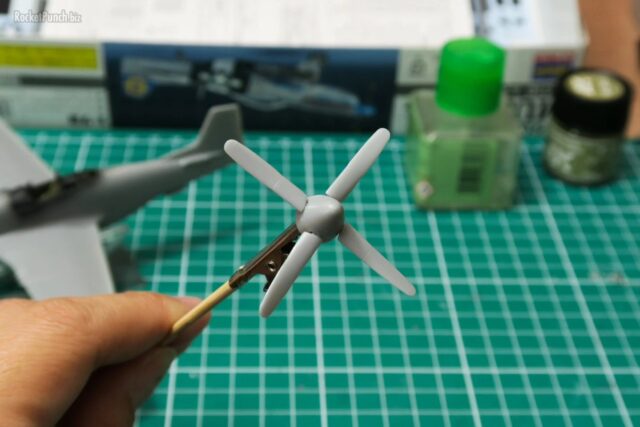
The VF-1’s canopy comes with a center mold line which needs to be dealt with. After scraping it off and a quick buff I gave it a dip in Future to shine it up. This will be painted separately and installed during final assembly.

There is just enough space on the bottom next to the gunpod for the display rod to be inserted. The inside of the forearm launcher pod was packed with epoxy putty which should be strong enough to hold the whole kit in place.

The rod is at an angle to give the VF-1 a more dynamic look when mounted. All the sub-assemblies are now done and it’s time for seamline fixing. Shudder…
Build Log
Part 1 – Construction | Part 2 – Construction | Part 3 – Painting |
Part 4 – Finishing | Part 5 – Final Assembly