My annual Macross build begins with this one, a part of a build-off with my good friend Maxwinamp from Out There. He is done with his while I’m still taking my own sweet time. Ah well. Anyway, beautiful CGI boxart as usual from Tenjin Hidetaka.
A dryfit shows a surprisingly huge kit.
As usual with Hasegawa’s other Macross kits, it can be broken down easily into subassemblies.
The pilot has an oddly large head/helmet.
The cockpit is adequately detailed with a prominent ejection handle on the headrest.
I went with my own color scheme for the cockpit basing my colors on existing Russian-designed aircraft. The pilot was also painted in my own scheme. I picked red as a highlight color for the sake of contrast only. The consoles were transparent green paint over a silver colored base.
It’s a snug fit in there.
But looks the business once everything is put together.
Hasegawa has strangely designed the exhaust petals to fit loosely to the housings. They can be posed open or close but don’t stay in either positions. I’ll cement to fix them into place instead.
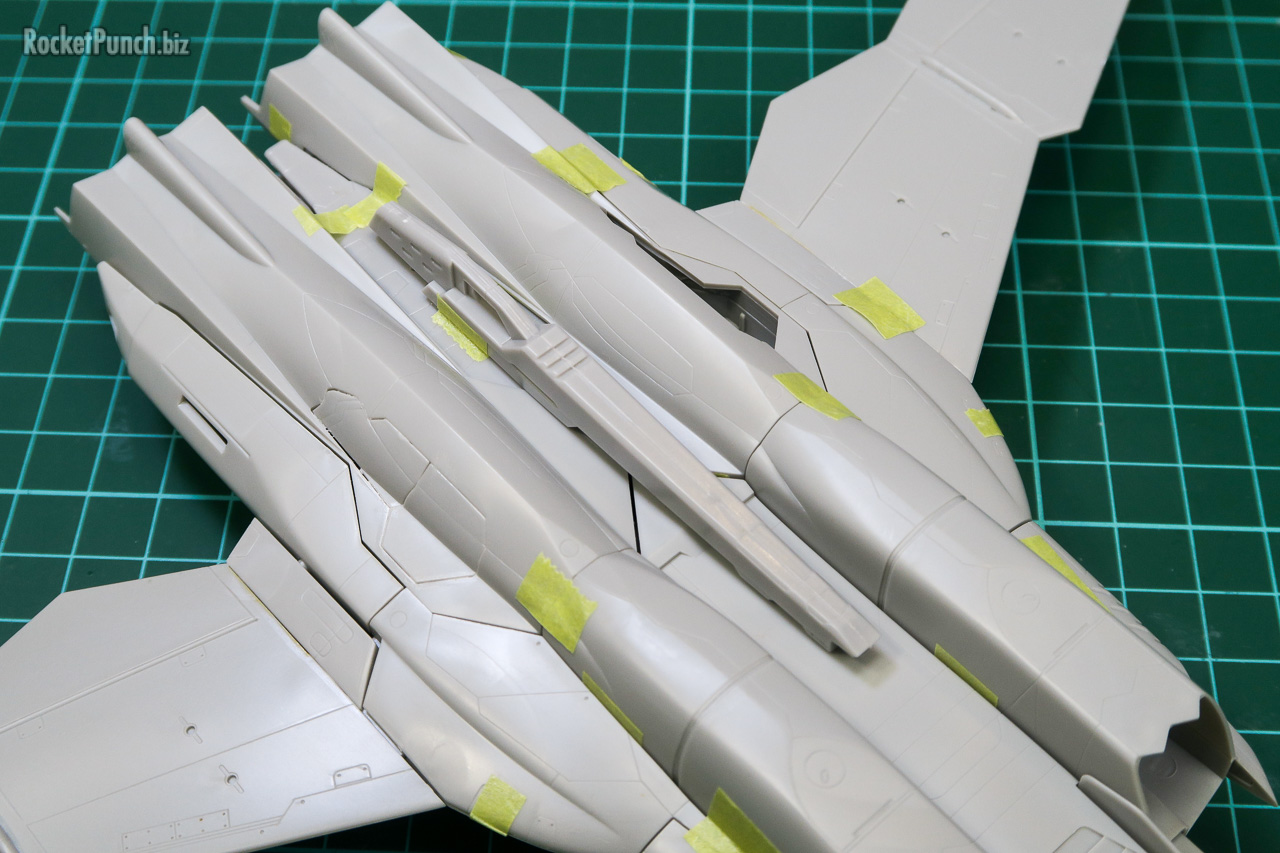
Since this is the version with the Twin Boosters we get the er… Twin Boosters in the kit. These are very simple assemblies that will attach over the main wings. The kit also comes with an extra pair of the missile-tipped fuel tanks.
The instruction calls for the nose to be put together and then joining it to the fuselage. To get a better fit, I attached each nose half to each fuselage half instead.
As I’m building this kit gear up, the gear doors need to be modified to fit closed. The parts are reinforced on the inside for a stronger fit.
The parts are not designed to be closed but with some careful fitting, the nose gear doors look good when closed up.
The doors all come with tabs for easier fitting when open.
The tabs were trimmed off, carefully fitted into the bay and reinforced on the inside with scrap plastic.
The main landing gear doors don’t fit as well as the nose gear doors with the gaps being a bit uneven.
Since it’s an in-flight model, I need to add a rod that attaches to a display base. Because of the centerline gunpod, the rod will need to be slightly offset.
I’m trying a new method of using a polycap to hold the display rod in place inside the kit. The polycap comes from unused spares from my gunpla stash. To get the correct alignment, I added a length of plastic pipe below the polycap and both are wedged in place with a housing made of plastic plates.
Once I have a proper alignment I reinforced the whole thing with a generous amount of epoxy putty.
Now the rod doesn’t rotate loosely inside the housing anymore. Previously I’d add a drop of PVA or CA glue inside to secure the rod but it meant I couldn’t detach it thereafter.
The intakes had injection pin marks that require filling. These were then pre-painted before assembly.
Having learned my lesson from the Harrier build, I dryfitted the canopy to make sure everything fit well. There’s a prominent seam line on the canopy’s centerline that require fixing first though.
I managed to remove the seamline and polish the canopy without resorting to a dip into Future this time. I then masked off the canopy and attached it to the kit using PVA glue.
With the color scheme I had in mind, I decided to break from my usual approach when it comes to Macross kits of painting in subassemblies. I’m treating this like a usual aircraft kit so I assembled as much as I can together first. It took some shimming and adjusting but I finally managed to have everything come together.
Gap fixing is next and I can move next to painting.
Build Log
Pt.1 – Construction | Pt.2 – Painting | Pt.3 – Painting & Finishing


