With so many subassemblies coming together, there are inevitable gaps which thankfully, were easy to tackle. The first thing to be painted is the canopy frame which was given the cockpit color of greenish blue.

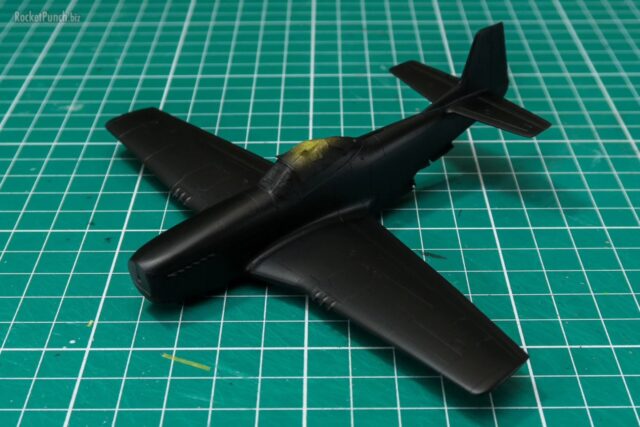
Then an overall base coat of black is done with Mr. Hobby Finishing Surfacer Black. Thinned with Mr Hobby Levelling Thinner, it took on a glossy finish when dry.

Which was perfect for what’s next: Vallejo Metal Color Jet Exhaust.

After a day of curing, I masked these sections off carefully.

Next on was the usual marble coat using white.

Wanting to add some variations to the finish of the main colors, I also painted blue and yellow colors on random panels.

The original color I had in mind was a splinter camo using various grays. But I saw this WHIF scheme from the Zokei-mura Ho 229 kit and thought it was very striking so I switched to this instead.

I didn’t want a wraparound scheme so I began painting the bottom with AK Interactive RLM76.

Painted with thin and glazed coats, the marbling shows up subtly along with the ‘discolored’ panels.

I then masked off the bottom to prepare for the main scheme.

The first color on is RLM63, for which I used Vallejo Model Air Light Grey. Vallejo lists this color as the equivalent to RLM63 but the result looked darker than expected.

I tend masked for the second color. The pattern is totally random and I marked ‘arrows’ to remind me which side should be painted.

The second color is Vallejo Model Air Green, which corresponds to RLM62. The result was brighter than expected.

I then repeated the process of masking again and then painted Vallejo Model Air Dark Brown for RLM61. This color looked right but overall the kit looked ‘off’ with the gray being too dark and the green being too bright. So I decided to go back in to lighten the gray color. The mix I came up with was 10 drops Vallejo Model Air Light Grey, 5 drops Vallejo Model Air Insignia White and 3 drops Vallejo Model Air Dark Brown. This mix was cut with 5 drops of Glaze Medium to knock down the opacity. Below is the result: new color left, old color right. I made sure to be random and concentrated on getting the lighter color on the center of the panels that were gray.

I then went back into the camo pattern and added more dark brown areas. After than I lightened the green and brown colors with Insignia White and sprayed the center of these patterns to give them a worn effect.

The result is a worn look although most of the marble coat has been covered up. I can see it, but the camera can’t quite capture the effect anymore. All in all though, I like the results. Moving on to the other parts like the nose, wingtips and the stores and then I can finish this build.
Build Log
Pt.1 – Construction | Pt.2 – Painting | Pt.3 – Painting & Finishing