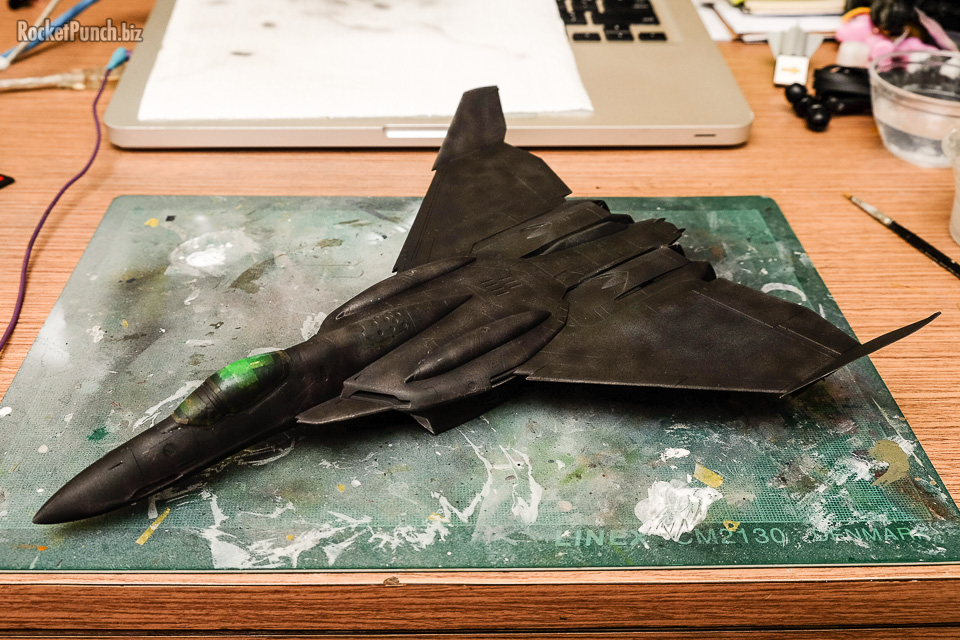
There’s a very obvious step on the wing joints which I try my best to fix. Nothing too drastic like sanding like mad though. Just an attempt to make the step look less jarring.
Painting begins with a base of black primer.
I’m going with the camo from the kit instruction since I couldn’t come up with something better. So first up the light gray.
Using blutack as a mask, the darker gray goes on. It went quite smoothly this time.
The engine sections on the dorsal were masked off and painted. Then a gloss coat is sprayed to prepare for decals. I decided to skip all the stencils. As usual, Hasegawa’s decals are thick and require a lot of Mark Softer. But once cured, they look fine. Some prepainting was required for the wingtips and the tailfins. This simply means more tape and being careful about overspray. 24 hours of curing later, I wiped down the kit with a wet cloth to remove any decal residue. After that it’s another glosscoat to seal the decals in.
Panel line wash is next with Raw Umber oil paint and left to dry for 24 hours. During this time I notice parts of a formation light decal tore off. I carefully re-attached these back with Future. The result is OK if not looked at too closely.
I decided to try out some pin washes with oil paint following the instructions from my friend Maxwinamp. The effect is two-fold: 1) it weathers the surface to simulate airflow over the mecha 2) I find it somewhat blends the camouflage by giving an overall filter. I went easy on the pin washes though as in canon, the VF-0C wasn’t used heavily operationally.
After a day of drying, I took another look at the kit and decided it needed more weathering. I went with white and black oil paint only for this round. I also added streaks with a 6B pencil and swiping the marks with my thumb.
Final assembly is next along with painting of the small details like wingtip lights.
Build Log
Part 1 | Part 2 | Part 3 | Part 4 | Part 5 | Part 6 | Part 7


Love your work ! just discovered Macross and I find them fascinating -if expensive !